Signup your business for a tenancy on the platform by visiting the platform URL
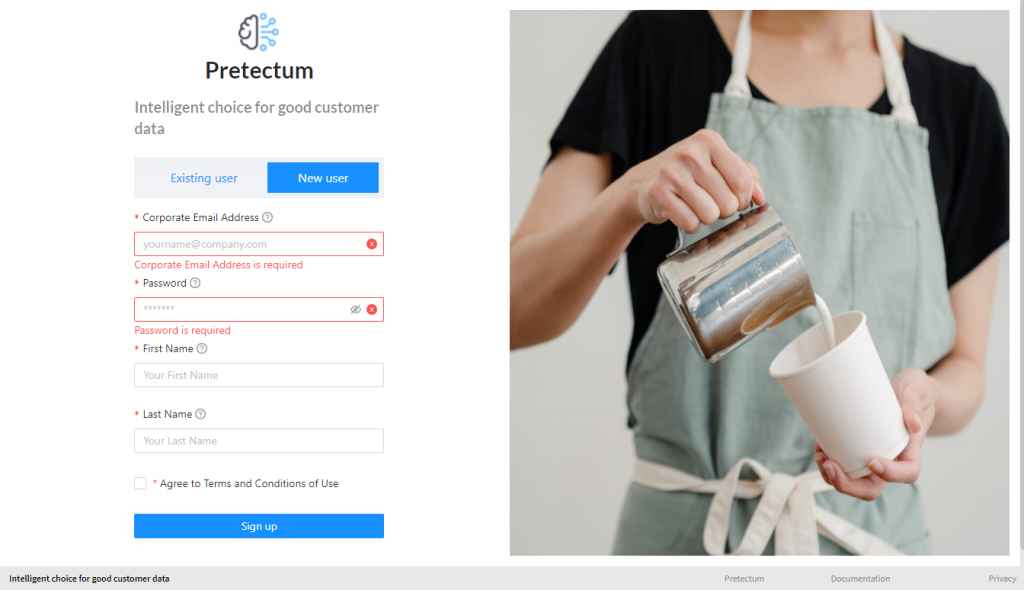
The tenancy is based on the domain name associated with your organization so unfortunately, you cannot use a public free email account like GMAIL, YAHOO, MSN or OUTLOOK.
Once you have registered your identity on the platform you will need to verify your legitimate use of that domain by responding to an OTP Mobile number message and verifying your email address.
At this point, once you are verified, you can add Business Areas and add users to the domain provided that their email addresses are related to that domain.
First log In
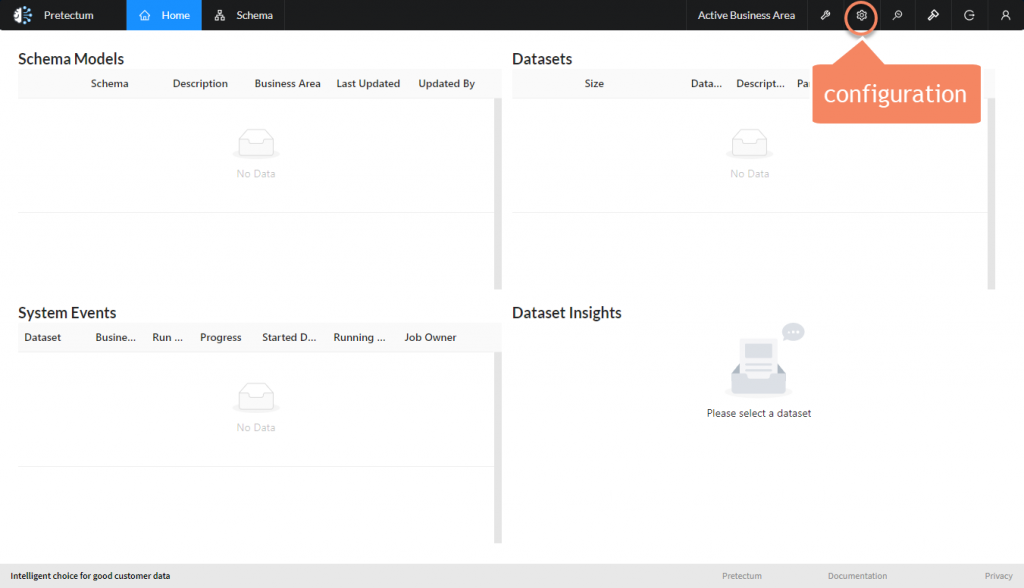
Upon logging in for the first time, the application will present you with, effectively empty home page panels. You’ll need to go to the configuration page to start setting up your environment and users
Establishing Business Areas
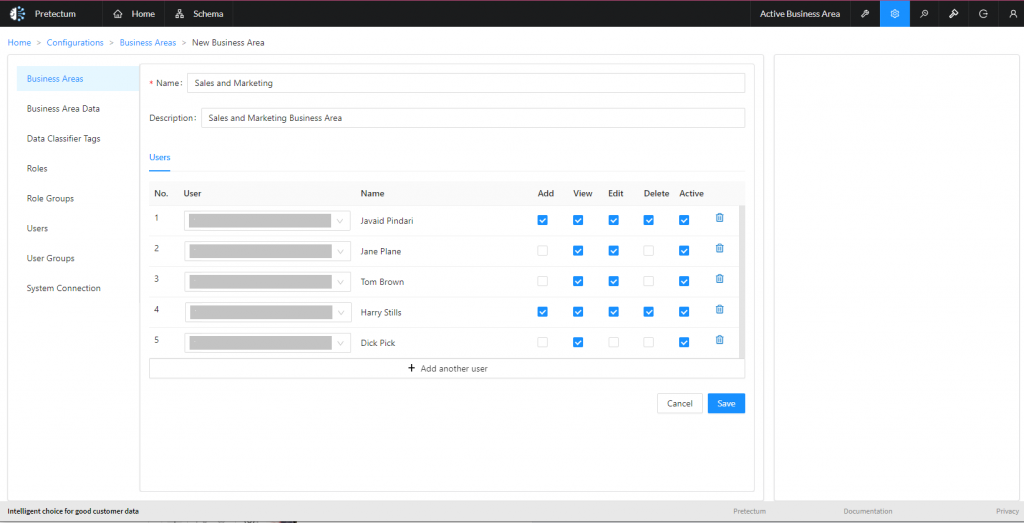
A Business Area is a tenancy container that is a launch-point for platform security. Users who are a part of the business area or assigned permissions related to a business area.
Business Areas can be active or inactive which will make them visible/invisible to users.
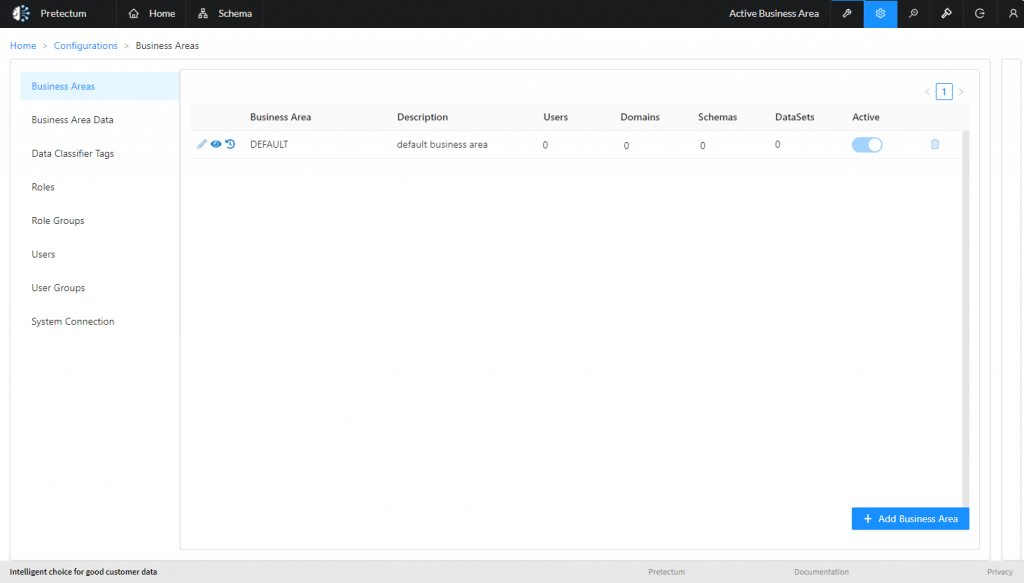
A DEFAULT Business Area is provided for homogenous definitions of objects and typically would not be used for anything except the most simple of use cases.
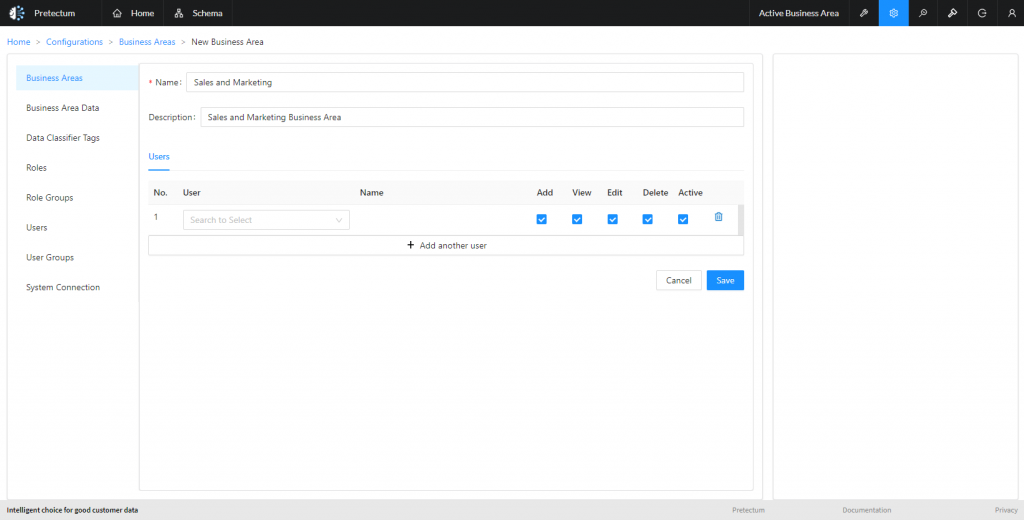
You can add as many Business Areas as your platform license allows.
You can assign as many users to those Business Areas as you choose with very fine-grained Access Rights.
The next step is the definition of Roles. You’ll need to create the Roles that you require and then assign users to Roles before you start building Schemas and adding Datasets.

